Showing posts with label DIY. Show all posts

Friday, 9 January 2015

DIY (Very) Big Earrings!


I was in hobbycraft (which is always dangerous) after Christmas and, in the name of market research, bought this kit. I have made up some learn to sew kits and booklets but have been researching other types of kits to see what you get for your money (not much it turns out...!).

This kit was made up of really cheap findings and beads and had minimal instructions, in fact they were just plain wrong in places and I had to go by the picture on the front of the box instead. I would not recommend this kit, definitely not worth the £9 it cost! Anyway I now have an enormous pair of earrings that I will never wear, they will go in my gift drawer!


Hopefully my next make will be more successful!


Thursday, 14 August 2014

DIY Elsa from Frozen inspired head band


I love fabric flowers and have made lots of head bands with fabric flowers attached so I decided that was the way to go for the girls party bags at little e's frozen party. I hate waste, especially the toys you normally get to put in party bags that end up in landfill a week later, so, Elsa inspired head bands for the girls it was!


If you want to make head bands (alice bands) I got mine on ebay, but you could also put the corsages on to hair clips.

To make the corsage:


Fold organza circles into quarters then stick 4 on to a small felt circle with hot glue. then stick a felt snowflake in the middle and stick a rhinestone in the middle of the snowflake. The corsage is stuck to the head band with a small blob of hot glue as well.

They were very well received and worked out at less than £1 to make so cheap as well as useful!


Linking to some of these link parties!

Wednesday, 16 April 2014

DIY Statement Necklace


I have had these discs kicking about for years, they were strung as a rather odd belt which I never wore... I think the discs are coconut, my Dad brought the belt back from one of his trips to Brazil, but whatever they are they are very pretty just not as a belt!

Since I am on a 'make no clothes for me until I shrink a bit' plan I have been playing with my jewellery making stuff instead (a nice relief from the insane amount of painting, tiling and building units that has been going on in the Utility room and downstairs loo!) 


I used 6 discs, lots of jump rings and some fake leather string from something else I had taken apart ages ago.


It is exactly the kind of thing I have been looking for for ages to add colour to plain outfits. I wish I was a scarf person but I am just not so, from now on, it will be big, bright necklaces!


Linking to some of these fab linky parties.

Crafty Allie

Wednesday, 8 January 2014

DIY Beaded Bracelet from a Cracker Bracelet!

My Mum is a cracker addict... She buys the Christmas Crackers in the January sales so she gets the nice ones cheap then keep them until the big day!

This year they were very pretty with silver plated things inside and beads on wire on the outside, so , naturally, I rescued the bracelets and beads and instead of adding them to the stash I processesed them straight away. The first one was used to make my double stranded bracelet, this one was kept more intact!


I layed the beads out to choose which order to attach them, then put a headpin on each bead and attached them to the bracelet.


The only problem with making things from cracker bits is that it does feel a bit cheap so I suppose I will have to keep it :)


Thursday, 2 January 2014

DIY 2 Strand Bracelet with Swarovski Crystals

Happy New Year! I decided to start 2014 as I mean to continue, using up my crafting supplies and not buying any more for a while!

This year is going to be a hard one financially. I chose not to go back to work after I had Big E but it means I have not been working for 8 years now and that, along with renovating our house, means that our savings are taking a beating! This year I plan to make as many birthday presents using stash crafty things as possible as I have a craft room full of stuff that I have got as birthday and Christmas pressies, or for free, for the last 8 years and I need to use it up!


I had the urge to make something last night (anyone else get those urges?!) so I pulled out my jewellery making stuff and got to work.


Using a cracker bracelet for the findings, a glass hearts bracelet that my in-laws brought back from Italy ages ago (and the gold beads between the hearts were cheap and loosing their gold covering) and some left over Swarovski crystals and pearls, I strung 2 new bracelets. I then used the toggle closure and jump rings from the cracker bracelet and put it all together.


I was going to use the chain from the cracker with ribbon threaded through but it looked rubbish when I put it together so scrapped that idea. Also, I used nylon beading thread because that is what I have but it would have been better with beading wire, the bracelets look like they are magically attached to the jump rings with the thread!


I don't wear bracelets often so this may end up as a gift, I am tempted to keep it though!


Linking to some of these fab linky parties!


Sunday, 22 December 2013

DIY Snow White Dress version 2


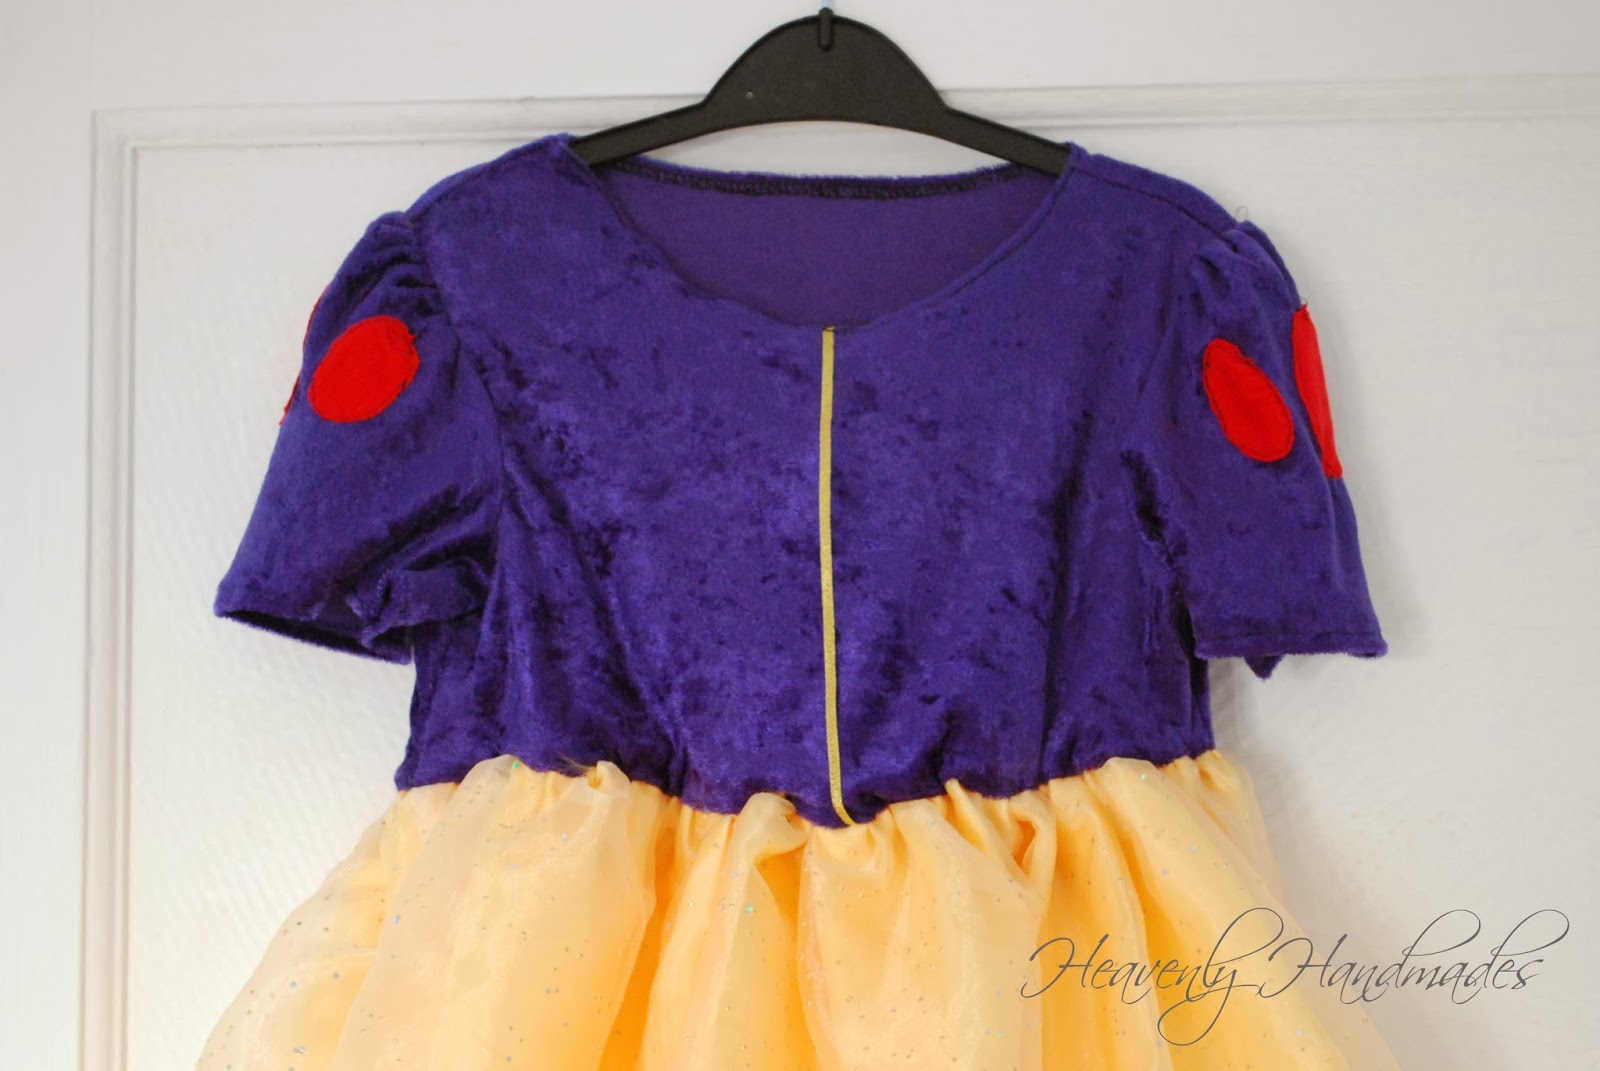
One of my friends asked if I would make a Snow White dress for her 2 year old daughters Christmas. Of course I said yes and this is what I made! I can't wait to see her in it, she will be so cute :)


The last Snow White dress I made, for little e, had a velcro closure at the back and was made of non stretch velvet.


This time, because it was for such a young child, I used a stretchy velvet so it doesn't need any fastenings.


I used a simple butterick girls dress pattern but cut the back piece of the bodice and skirt on a fold because it was stretchy fabric. I attached the skirt to the stretched bodice and then, to hold the shape of the bodice better, added a band of elastic to hold the skirt at the unstretched bodice size (does that make sense?!). I skipped the piping step altogether and just sewed a narrow gold ribbon down the front. Not exactly like the actual Snow White dress but hopefully a 2 year old won't notice these things :)


Linking to some of these fab parties!

Friday, 8 November 2013

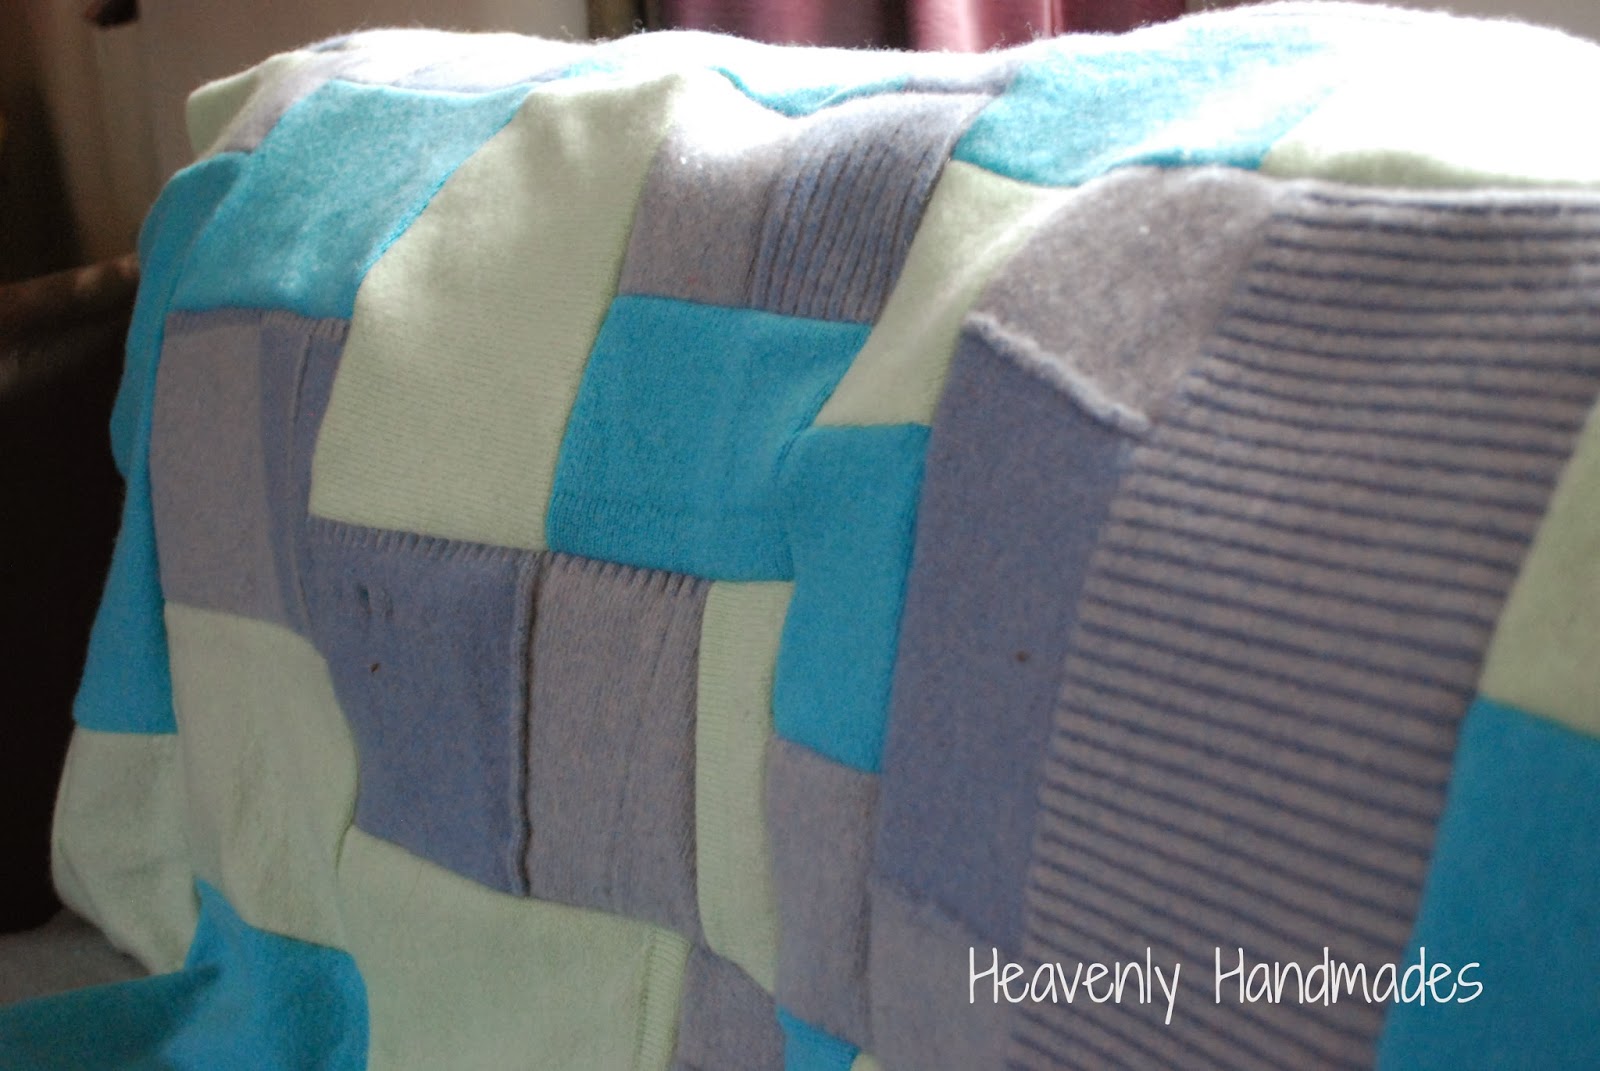
DIY Blanket from felted sweaters

What do you do when you buy 2 jumpers on eBay thinking they will be perfect to wear in the winter then realise that there was a reason they were cheap, they are about 2/3 of the size they should be....?!

You store them for two years of course, and when your fabric cupboard finally refuses to close you drag them out, felt them some more along with another sweater you have acquired, and cut them in to A4, A5, A6 and A7 sized rectangles with the plan to sew them together in to a blanket. That was in June.


Finally I set them all out on my bed in a pattern I liked then sewed them together. It was a bit of a rush job as I laid it all out (which took a good 45 minutes) on my bed, at 9pm.... I finished sewing it up at about 10.30pm, there is nothing like a desire to clear the bed so you can get in to it to get you moving!


It now sits over my legs like a proper old ladies blanket keeping me warm!


Friday, 12 July 2013

DIY Taggie Dino from an Old Sweater!

This Dino was made for a very special new addition - my first nephew, my sister's first child. He arrived yesterday afternoon and is utterly gorgeous, my two seem so big now!


My sister had given me an old cashmere sweater ages ago to make something with and it has sat in the basket waiting for the perfect project and this was it.

I used this fantastic template for the shape of the dino but cut it out with a seam allowance instead of cutting once sewn. It would have been quick to make if I had paid attention to the way it was put together and sewn the tags on the right way round (they were on the inside when it was as it is below with only the scraggy ends sticking out instead of the loops!), I won't do that again!


It will be a while until he can enjoy it, until then I will be happy to oblige in the cuddling department!

Me and 'Bubbles' by Ian my sisters super talented brother-in-law (www.yellow12.com)


Linking to some of these fab parties!

Thursday, 28 March 2013

Some Easter Hens!


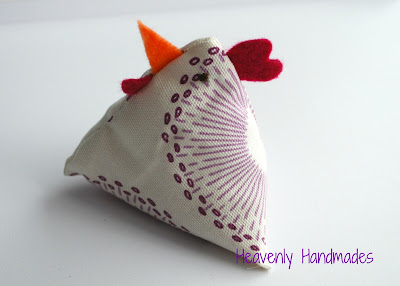
We are getting real hens soon, hopefully in the next month or so, but in the mean time I have made a flock of beany hens!


I used this tutorial and made 6 hens, the kids love them and they don't sit on the shelf I put them on for long :)


They were super quick to make, I made all of them in a couple of hours ( I stuffed them with 2/3 stuffing, 1/3  rice) and to tempt you even more they are a great scrap buster for those useless bits of fabric you can't part with, or is that just me....!

Now to attempt a Simnel cake and Easter meringues like they made on the Great British Easter Masterclass the other night!


Linking to some of these fab linky parties!

Monday, 31 December 2012

Popular posts of 2012

2012 has been a crazy busy year,lots of DIY and gardening and not nearly as much crafting as I would have liked, hopefully next year will be less house renovation and more crafty fun!

Here is a roundup of my 10 most popular posts of 2012...

1.  DIY Dip Dyed / Ombre Skirt

 2. DIY Swarovski Earrings


3. DIY Swarovski Bracelet


4. Woodland Wonderland Tree Stump Wedding Cake


5. Wooden Bead Necklace


6. Star Wars ATAT Cake


7. Skirt from Scraps


 8. DIY: old jeans to new skirt


9. Pintrest Inspired Foot Art


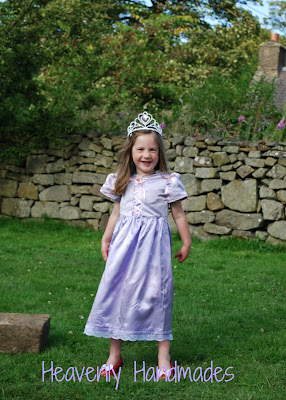
 10. Rapunzel/Tangled Dress Up Costume


Looks like jewelery and refashioning posts are most popular, more of that next year then!