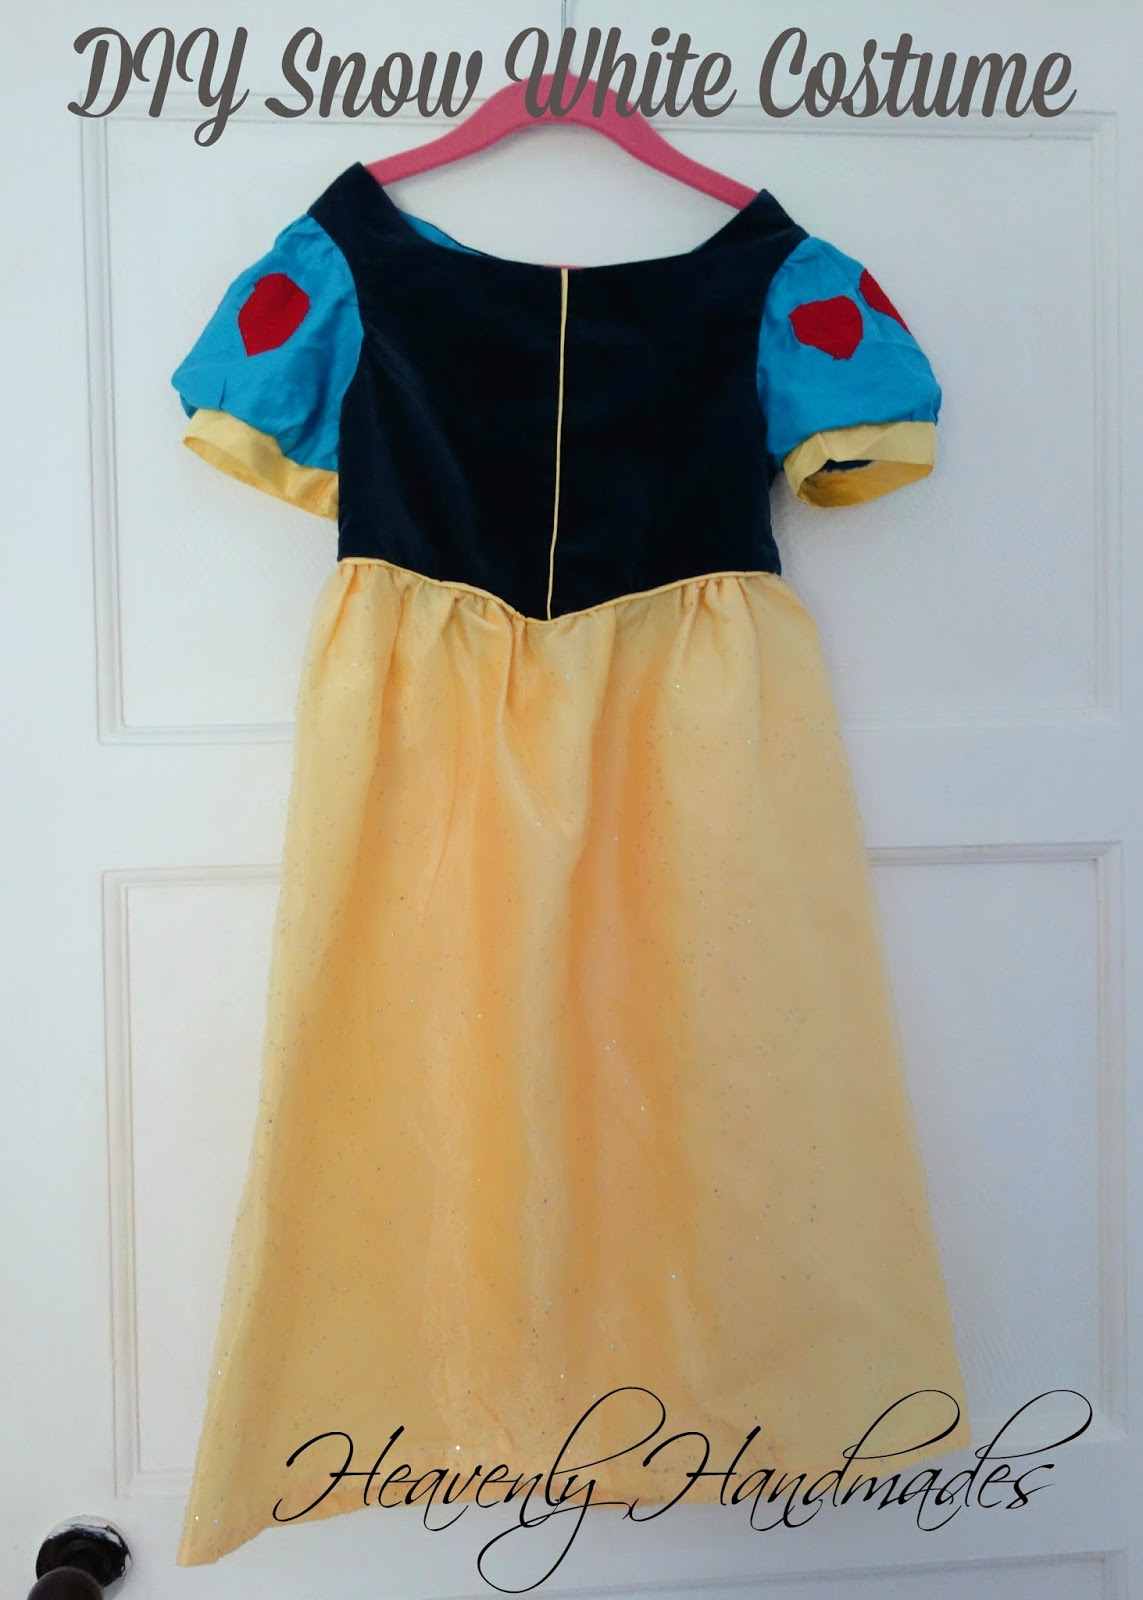
Little e fell in love with
every the Snow White dress when we were in the gigantic, huge, massive Disney store at Downtown Disney in April. She was like a broken record, walking about saying "For my burfday, for my burfday". Unfortunately having spent a fortune on the holiday I was not prepared to fork out another $60 for a dress and figured I could probably make one myself...
I apologise now, this tutorial is a bit sketchy and very long, I was in a huge rush when I made the dress and didn't get as many photos as I would have liked.
I didn't have a dress pattern for the correct age at the time so used an age 4-5 Cinderella dress as a template and drew round the bodice. If you have a plain girls dress pattern then use that and modify the front to have the raised sides and pointed front! The dress had a velcro closure and I planned to do the same so didn't have to worry about buttons or zips but the bodice front had to be cut down the middle as Snow White has piping down the front (above!).
I used one of the sleeves of an old top of mine as the pattern for the sleeve as I wanted nice puffy sleeves. The skirt is a simple gathered rectangle.
Supplies (based on making a age 4-5 dress):
- about 1m and a wee bit of a yellow fabric for the skirt, I used yellow lining material and a sheer yellow glittery material on the top.
- about 0.5m of dark blue material, I used a velvet cushion cover from the reject section in Ikea!
- about 0.75m of lighter blue material for the sleeves and lining.
- Some scrap red material for the red patches on the sleeves
- about 1m of medium piping cord (if you don't have any you could always use the cord from any spare curtain tape that is lying around.... not ideal but it works...)
- matching threads
- 10cm velcro
Here goes:
First measure your little person to see how long to make the skirt then add about 4cm for the top seam and the hem.
Cut your 2 skirt materials, I used the whole width of the material (1.4m) and cut to 59cm.
Use more of the yellow lining fabric and cut it on the bias in strips 2cm wide.
Next, take the bias strips and sew them together to make a long strip, see steps 1-8
here for a how-to.
Now you need to cut the bodice. Cut 2 of each front and back bodice piece remembering to add whatever seam allowance you want to use.
I wanted to line the dress as little e is super fussy about rough things against her skin so I cut the same again from the blue sleeve fabric.
Cut out your sleeve pattern from the lighter blue cotton and the 6 red drop shapes for the sleeves. I zigzag stitched the red drops on to the sleeves.
Now, take your bias strip and press strip in half length ways
Put piping cord in crease and sew then end of the cord to the strip to secure.
Use your zip foot and sew as close to the piping cord as you can.
I then sewed the piping to the right side of one of the bodice front pieces, the raw edge of the piping strip should be on or near the raw edge of the right side of the bodice (see pic under the one below!).
Your seam allowance will dictate where you place the piping, you want the actual piping bit of the strip just out of the seam allowance so when you sew the two front pieces together the piping sticks out from the seam. I used a 1cm seam allowance and therefore my piping's raw edge was a few mm in from the raw edge of the bodice. I sewed the piping to the bodice (zip foot again) then sandwiched it with the other bodice front and sew together using the piping stitching as a guide.
The next thing to do is put the piping along the bottom of the bodice
Then sew the front bodice to the back bodice pieces at the shoulder seams right sides together. Do the same for the lining.
Put the bodice to the side for now and sew a gathering stitch (longest stitch length inside seam allowance) along the top and bottom of the sleeve.
Pin sleeve to the bodice matching the centre of the sleeve to the shoulder seam and gathering so it fits.
then sew in place
Then (this bit is like magic!) put the bodice and lining right sides together, you are going to sew them together along the neckline, arm holes and sides, making sure you don't catch the sleeves as they will be between the two layers. See
here for pictures and a fantastic tutorial and keep it open as you will use it for the next bit! The tutorial is for a sleeveless dress but just fold the sleeves up between the layers and be careful!
Turn the bodice the right way out and press.
Sew the sleeves together then sew the bodice sides together as in the tutorial linked to a few steps ago!
Next you can measure your little ones arm to see what size to make the arm band or use my guesstimate method! Cut 2 bands out of the yellow fabric. My pieces were 26cm x 5cm.
Sew short ends together then fold in half, wrong sides together, and press.
Pin to the right side of the sleeve, gathering the bottom of the sleeve to fit and matching centres and seams.
Sew on.
Now approaching the end....
I treated my 2 skirt fabrics as one but you could make 2 separate skirts only joined at the top.
Sew short edges of skirt together stopping about 5 cm from the top.
At the top fold over and fold again to hide the raw edge then stitch down. It will look like this:
Sew a gathering stitch along the top of the skirt. I would do 2 rows just in case one breaks....
Gather and pin to the right side of the bodice. I just ignored the pointed front and just pinned the skirt to the bodice following the shape and it worked fine. If you wanted some extra work you could shape the top of the skirt!
Sew the skirt to the bodice using the piping stitching you can see on the underside of the bodice as a guide so you don't sew over the piping.
Almost there....
Hand sew the lining to the bodice inner folding the raw edge to the inside and lining it up so the lining covers the seam.
Cut out 3 x 2cm (ish) pieces of velcro and sew them on to the bodice back.
Hem the skirt, fold over 0.5cm, press, fold over 1.5cm, press then stitch (don't iron if you are using fancy material like mine, the glittery bits don't like it......!).
Yippee you are done! I would love to see photos if you make one!
I didn't do the white collar since little e hates collars but it would be removable anyway so I may add one in the future! Also a red headband with a bow would complete the outfit but since little e hates headbands as well, I didn't bother!
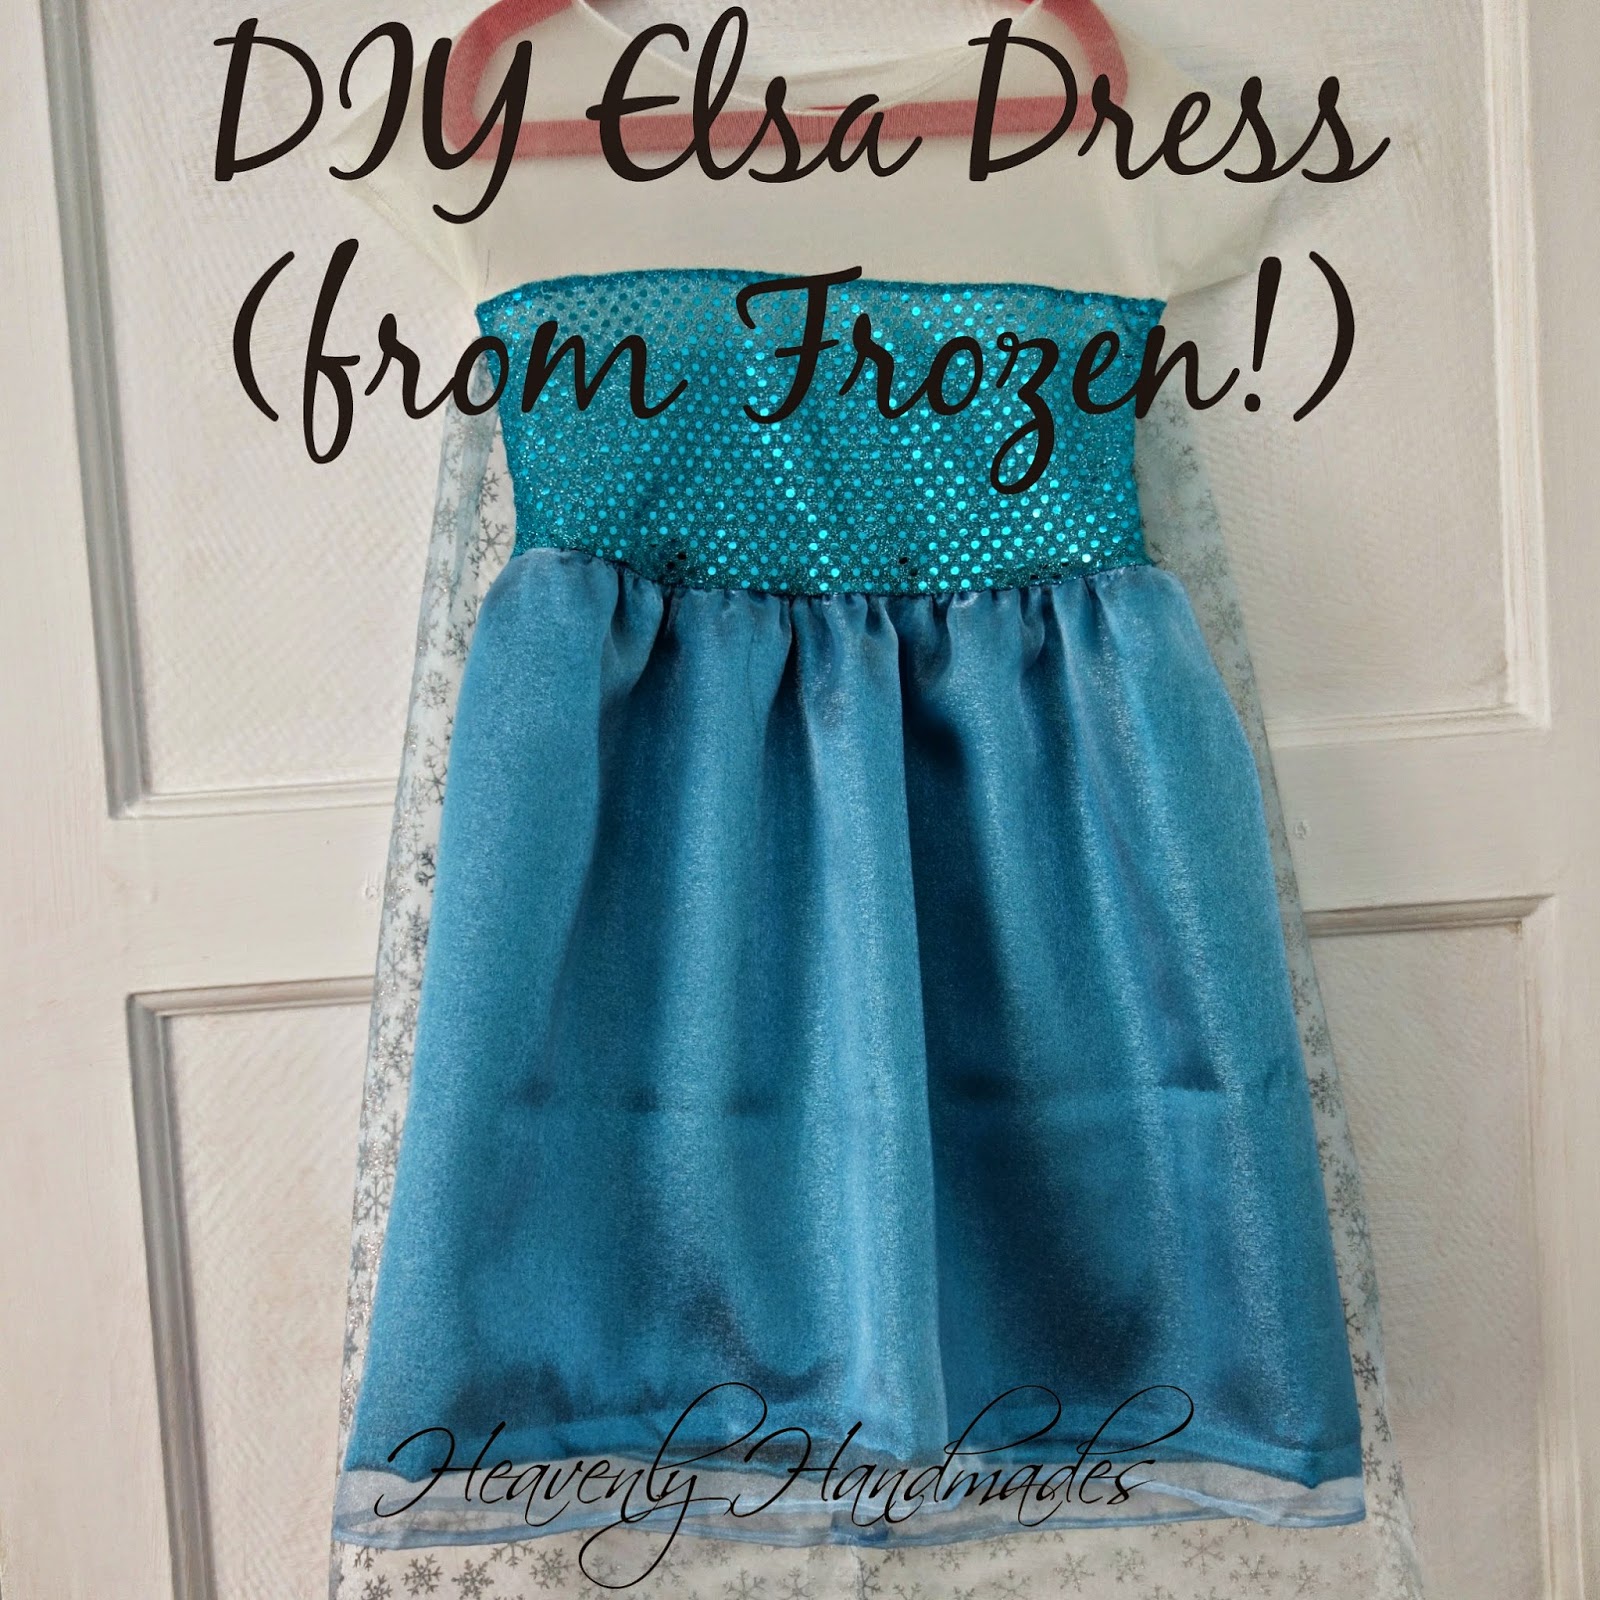
I also have (not as detailed) posts on making a stretchy
Snow White Dress,
a Rapunzel Costume , a
Ninja Outfit and an
Elsa Dress!
p.s. I know you may have questions as this is not the best tutorial ever so fire away and I will answer them!!
p.p.s Linking up to
these fab parties!